Roll20 Delete Uploaded Items Removes Them From Canvas
Topics in this article include:
About My Media
Accessing My Media
Captioning Kaltura Videos
Editing Your Media
Edit Video Options
Trim, Prune, or Scrap/Splice Your Media
Publishing to the Course Media Gallery
Download Your Media
Delete Video(s)
Analytics
About My Media
The Kaltura My Media area is a private space where yous may upload and manage your media content. From the My Media area you lot may edit your videos' options, manage captions, create clips from your videos, delete videos, publish videos to the Course Media Gallery, and more.
To add a video to your course (such as an item, assignment, Word Lath post, blog post, etc.), see Using the Kaltura Mashup Tool.
Accessing My Media
To access your My Media, click on the Tools link in the Global Navigation bill of fare. This will bring you to the Tools area. Select Kaltura My Media.

If prompted to let Kaltura authorization, click Allow. You should just need to do this once.

Adding a Link to My Media in the Grade Menu (faculty)
To add a link in the course bill of fare to the My Media surface area, click the Add Menu Item push button (+) at the top of the menu.

This volition open a menu. Select Web Link .

Enter a name for your link, such as My Media.
For the URL, enter https://my.lesley.edu/webapps/osv-kaltura-bb_bb60/jsp/myMedia.jsp

Check the Available to Users box and click Submit.
Captioning Kaltura Videos
Kaltura Media has the ability to automatically add captions to your video content using automated oral communication recognition (ASR). When a video is uploaded, the ASR processes begins immediately. Captions are created based on the sound track and the content is causeless to be in English. However, video owners tin run the captions in other languages.
All videos created after August 6, 2018 will be machine-captioned. Any videos uploaded to Kaltura before this appointment will non be auto captioned, merely you lot may asking ASR captions at any time.
ASR captions are but lxxx% accurate and accurateness may vary depending on the audio quality, clarity of speech, background noise, etc. We recommend using the ASR captions equally a starting bespeak - you lot will want to edit them for accurateness.
For more data on captioning, including how to review and edit captions, come across Kaltura Media: Captioning Video Content.
Editing Your Media
Edit Video Options
You may edit your video options, including details (name, clarification, tags), collaborators, options (clipping and comments), and more than.
To edit your video options, click on the edit (pencil) icon to the right of your video.

This will bring yous to the Edit area. Here you may preview the video and edit your video details and options.

Click the Details tab to edit details, such equally the video title, description, and tags.

Click on the Options tab to permit others to create clips of the video and to enable or disable commenting.

Click on the Collaboration tab to let others to collaborate on your video.

Click on the Thumbnails tab to create or replace the video's thumbnail epitome.

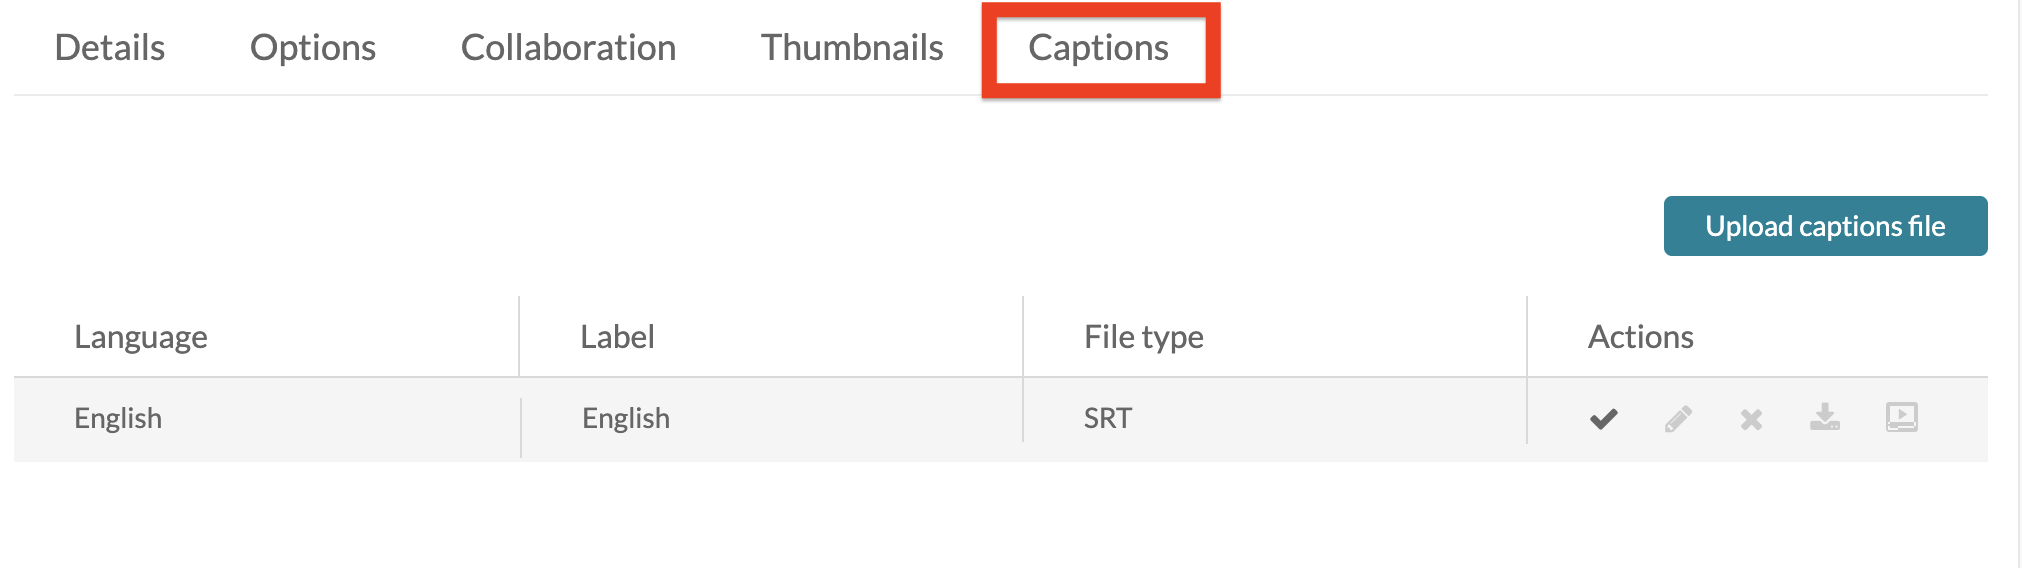
Click on the Captions tab to review your auto-caption file, edit captions, request captions, or upload a new explanation file.For more information on captioning, come across Kaltura Media: Captioning Video Content.
To launch the Kaltura Media editor, go to your My Media so click on the edit (pencil) icon to the right of your video.
Once the video loads, click Launch Editor.

If your video has captions, a warning bulletin will display. In order to keep the original caption files intact, save a re-create of the video before editing.

The editor consists of a left, right, and lesser pane.

Utilise the bottom pane to trim the commencement/end of your video, create clips, or remove chunks of content from your video. For detailed instructions, run into Editing Videos in Kaltura Media.
To add content to the class Media Gallery, select the video you wish to add together. Click the Actions push button and select Publish.

You will be prompted to confirm whether you wish for your video to remain private or to publish the video. Select the course Media Gallery to which yous would similar to publish and click Save to publish your video.

By default, your instructor volition need to approve the content earlier it is added to the grade Media Gallery.
Download Your Media
To download a copy of your video, get to your My Media and and so click on the edit (pencil) icon to the correct of your video.
This will bring you into the editing area. Click the Download Media button on the top right corner of your video.

Delete Video(s)
To delete a video, navigate to your My Media and click the Delete push (trash can icon) to the right of the video you wish to delete.

To delete multiple videos, click the box next to each video you wish to delete to select. At the top of the page, click the Deportment push button and select Delete.

Analytics
To view analytics for a specific video (including number of views, average view times, people who viewed, etc.), locate your video in My Media and click to open. This will bring y'all to the video.
Click the Deportment push and select Analytics

This will bring you to the Analytics area. Hither yous may view the total number of visits, number of views, drop off rates, average view time, and the top engrossed viewers.

mclaughlinherthew.blogspot.com
Source: https://support.lesley.edu/support/solutions/articles/4000055716-managing-your-kaltura-media-my-media-
0 Response to "Roll20 Delete Uploaded Items Removes Them From Canvas"
Post a Comment